Count Eggnog! The Vampier Candy-Cand Reindeer!

Velcome! Velcome to today’s post!  Today I vill teach you how to make vampire Candy-Can Reindeer! After all, it’s almost Christmas! Lots of hot cocoa (I like cocoa as much as I love ice-cream!).  So as always, our family makes more ornaments.  I created this one when I went to a Christmas party.

Surender your eggnog mortals!

Surrender your eggnog mortals!

I called him Count Eggnog. When I came home I decided to make another one.

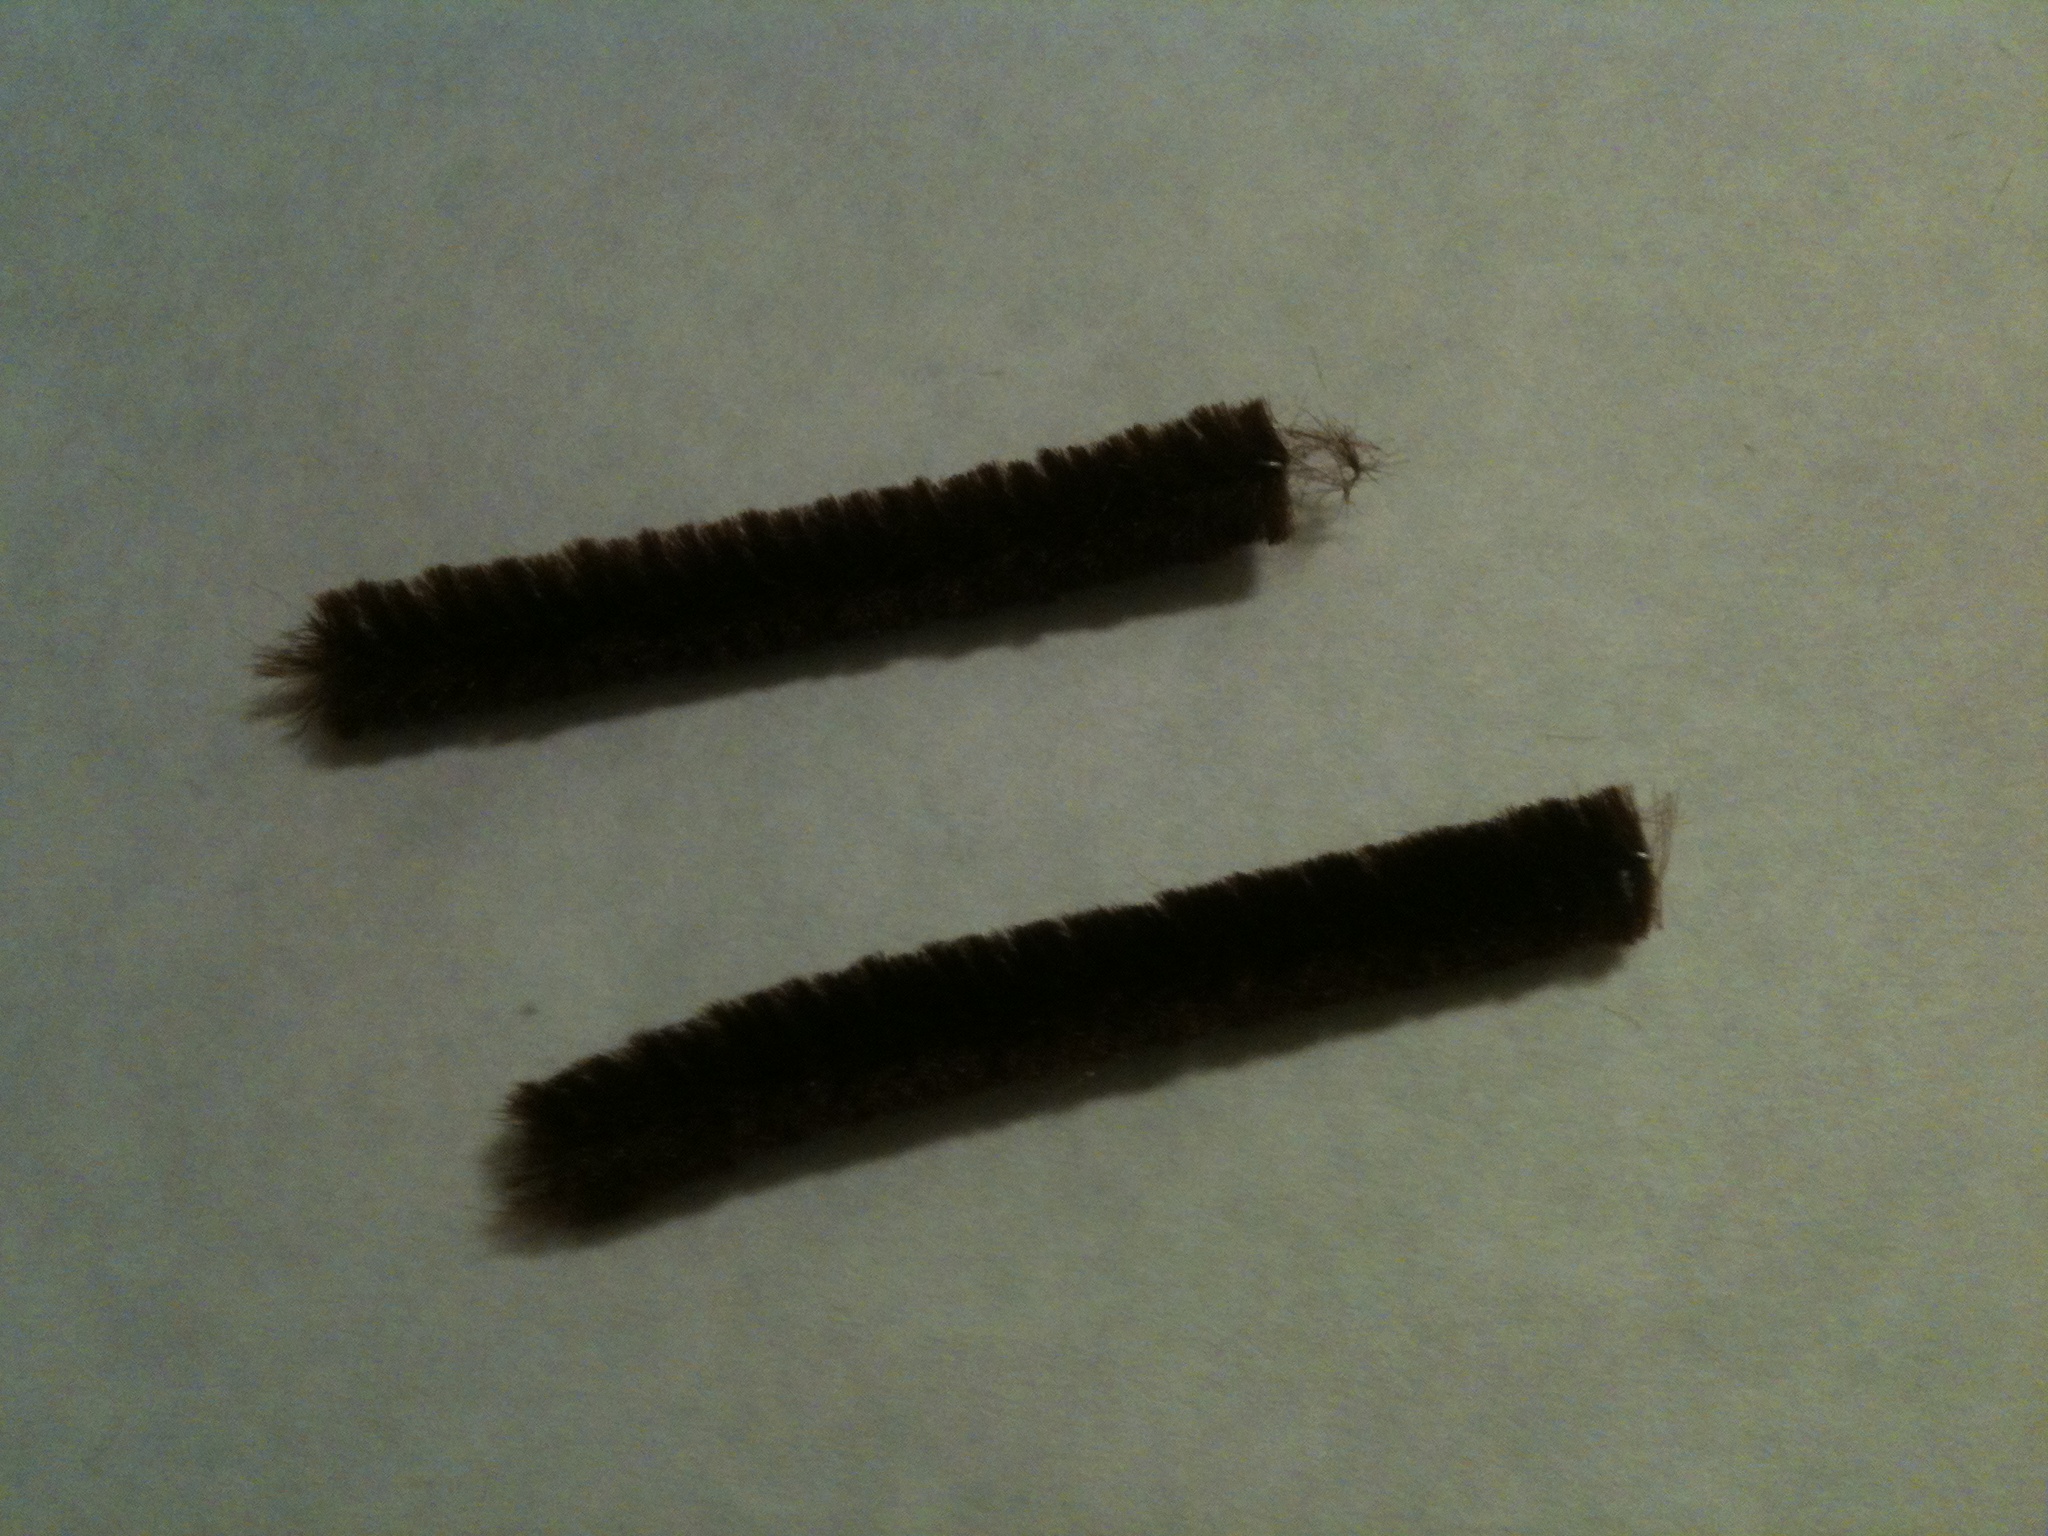
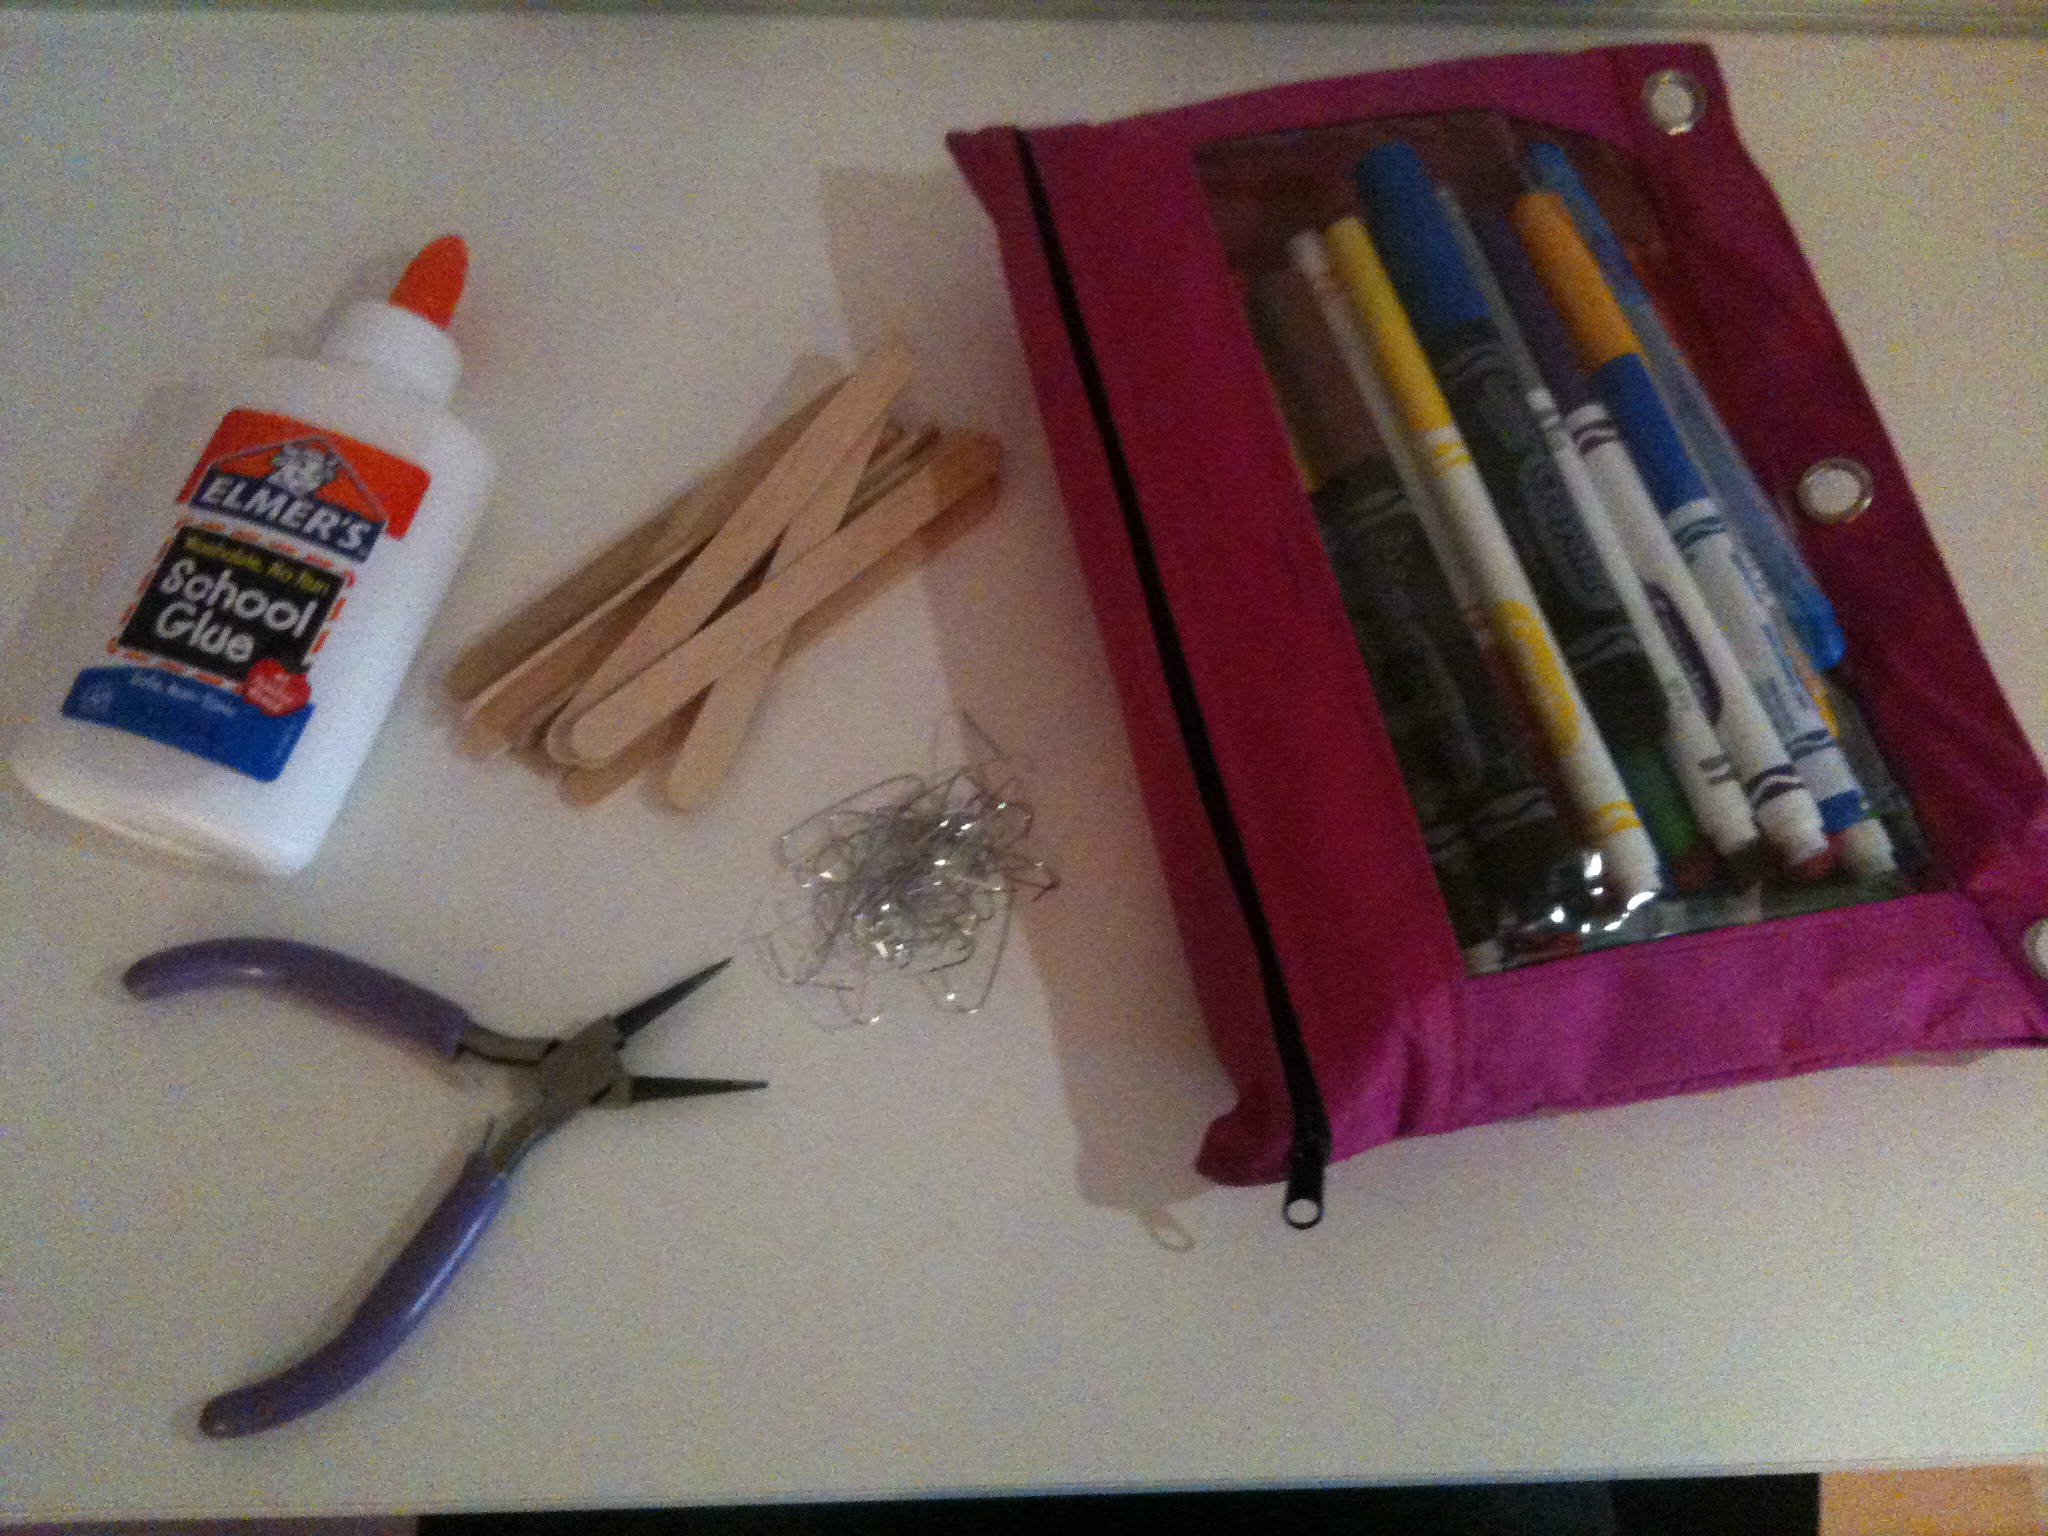
Need: A candy-cane, some glue, a tissue, two googl-y eyes, some pipe-cleaners and a pair of scissors.

Everything's in black-and-white to add to the

Everything’s in black-and-white to add to the older horror movie effect.

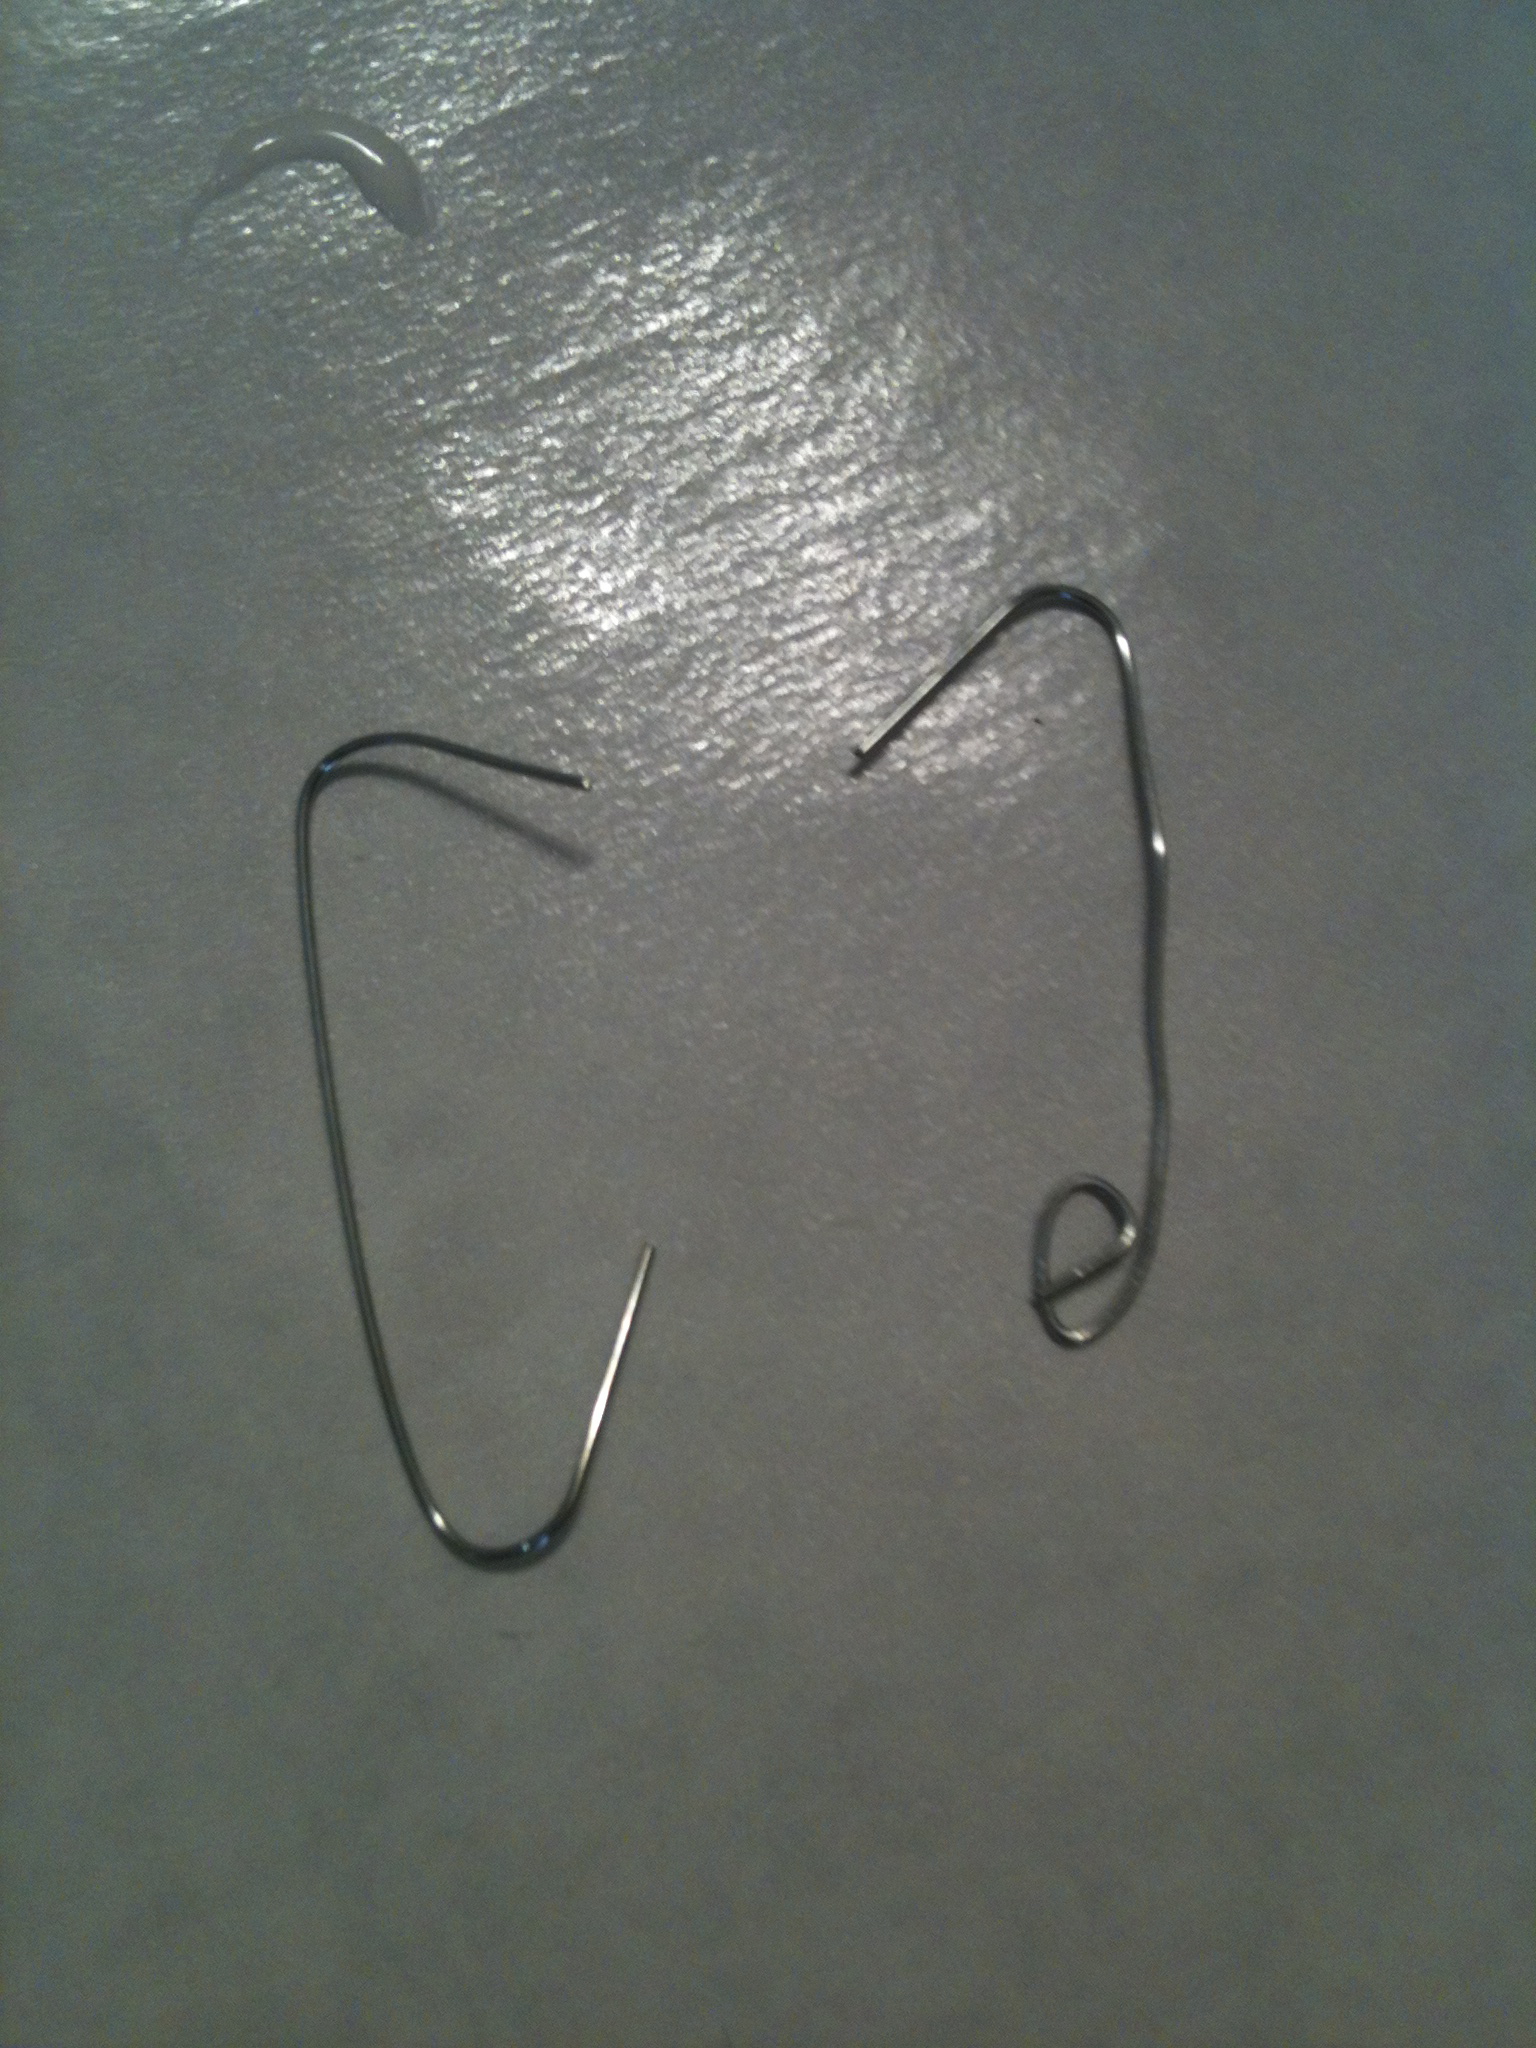
 1. Take your first pipe-cleaner and wrap it around your candy-cane like this.

2. Take a tissue (or a napkin) and tear it in half.

I used tissues but you can also use napkins

3. Now take one and place it

3. Now rip away the excess then distress it as much as you like and repeat with the second pice.

4.Now put some glue on the arm of the candy-cane.

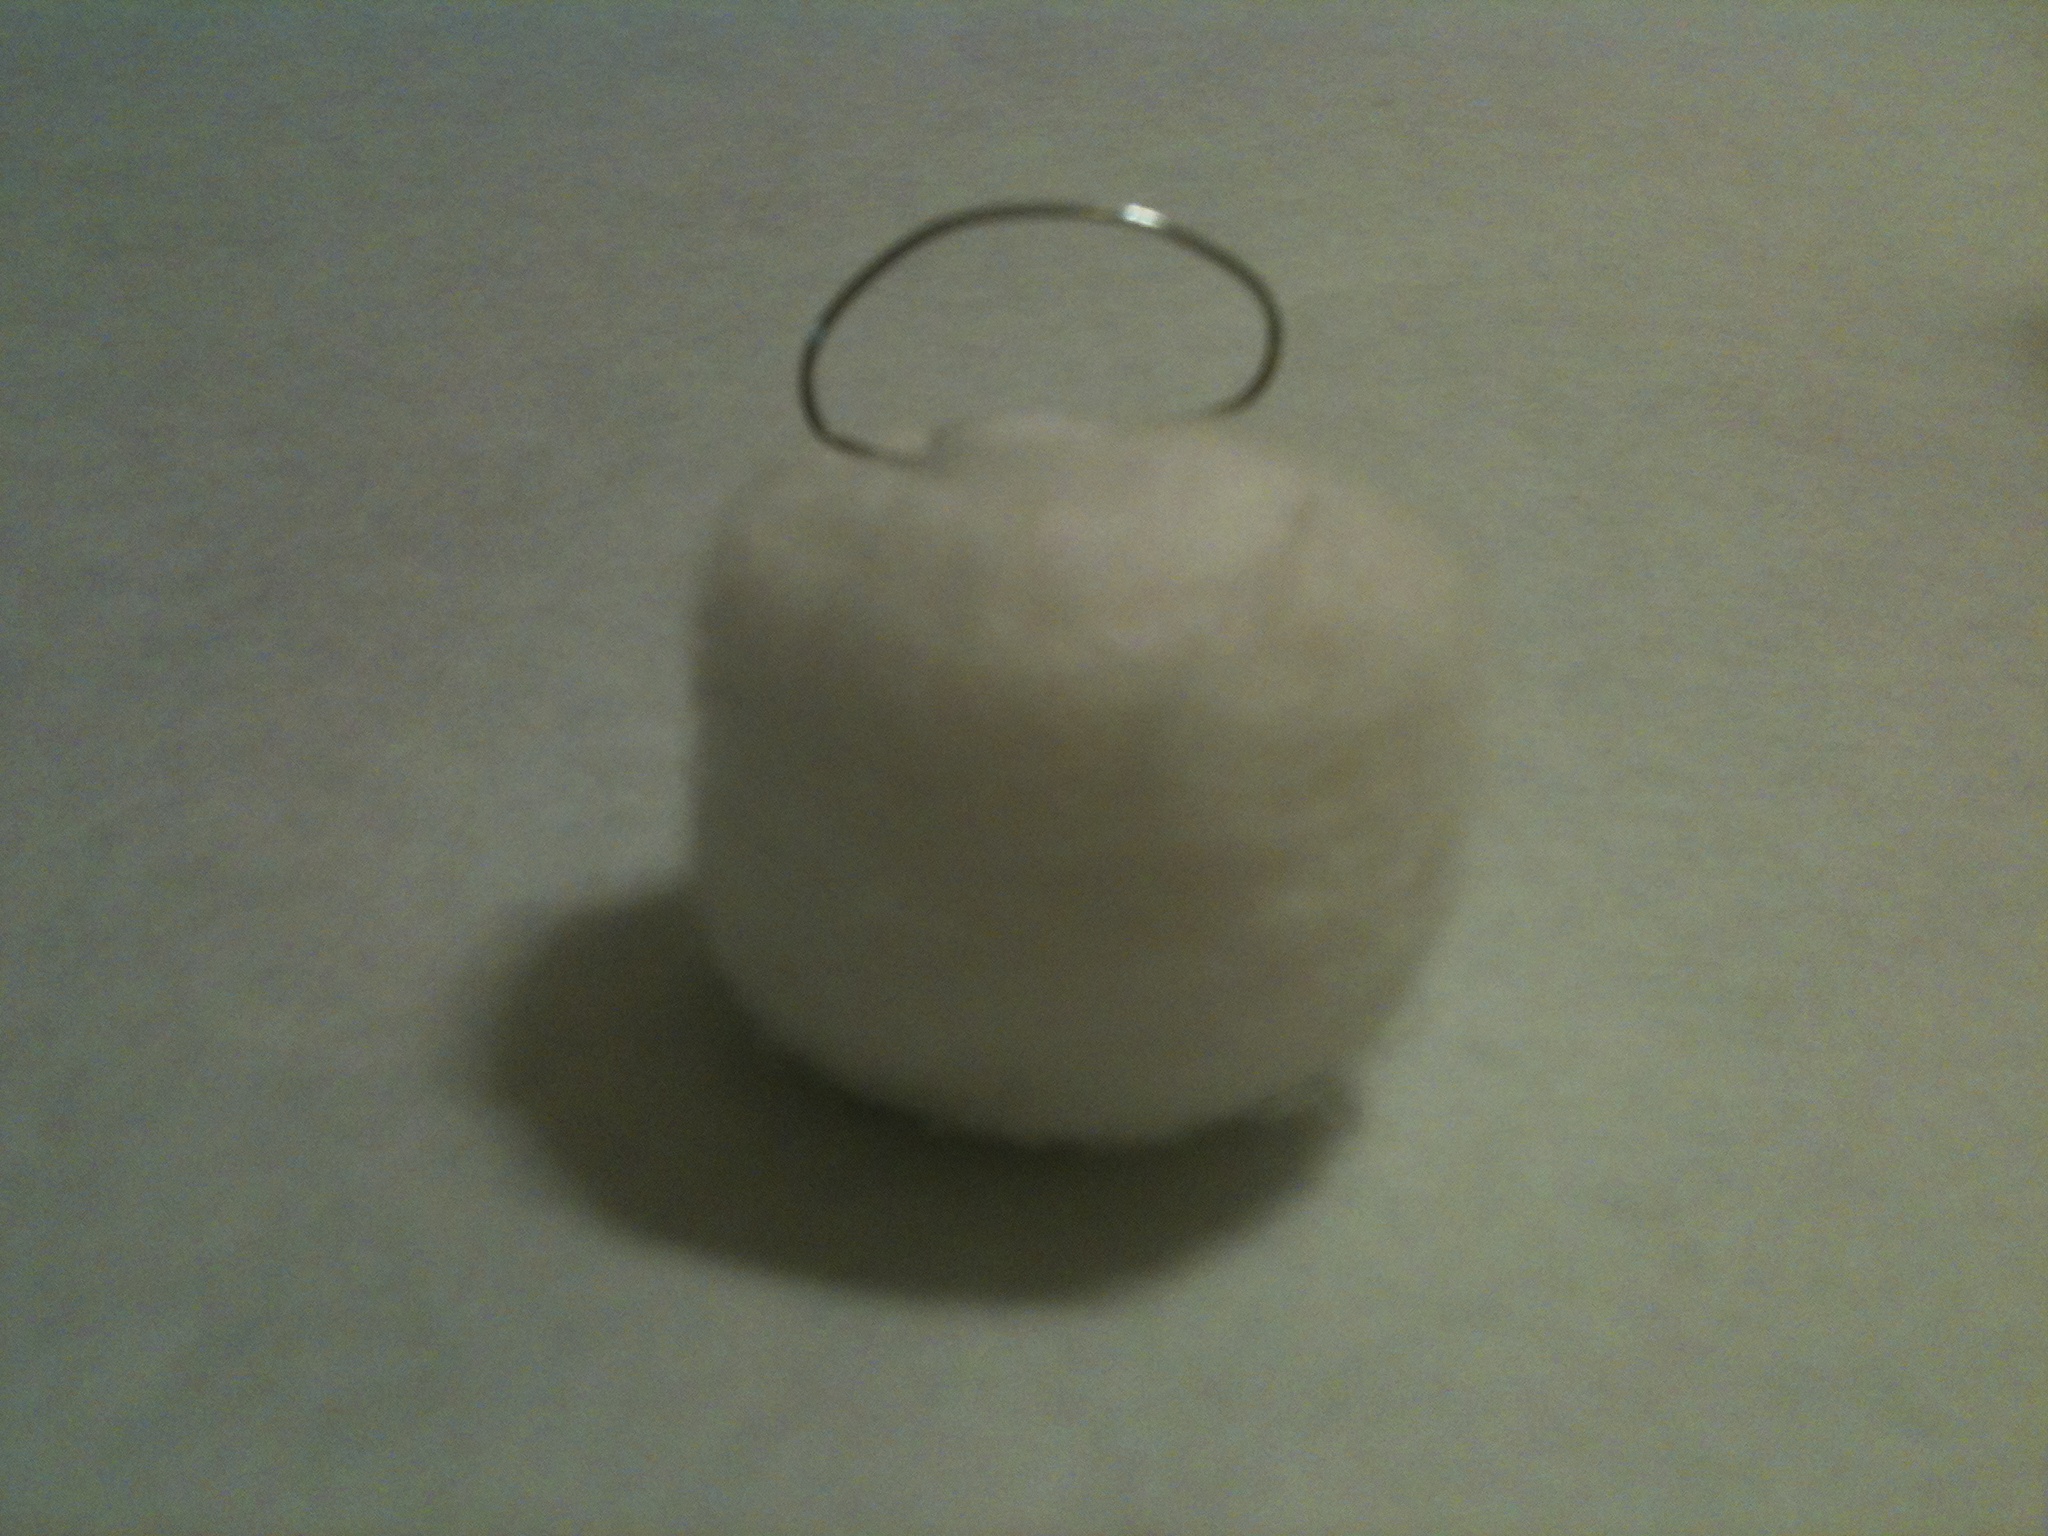
 5. Now wrap the paper around the arm until you can’t feel any glue when you touch it. 6. Repeat on the second arm.

He's looking like a vampire already!

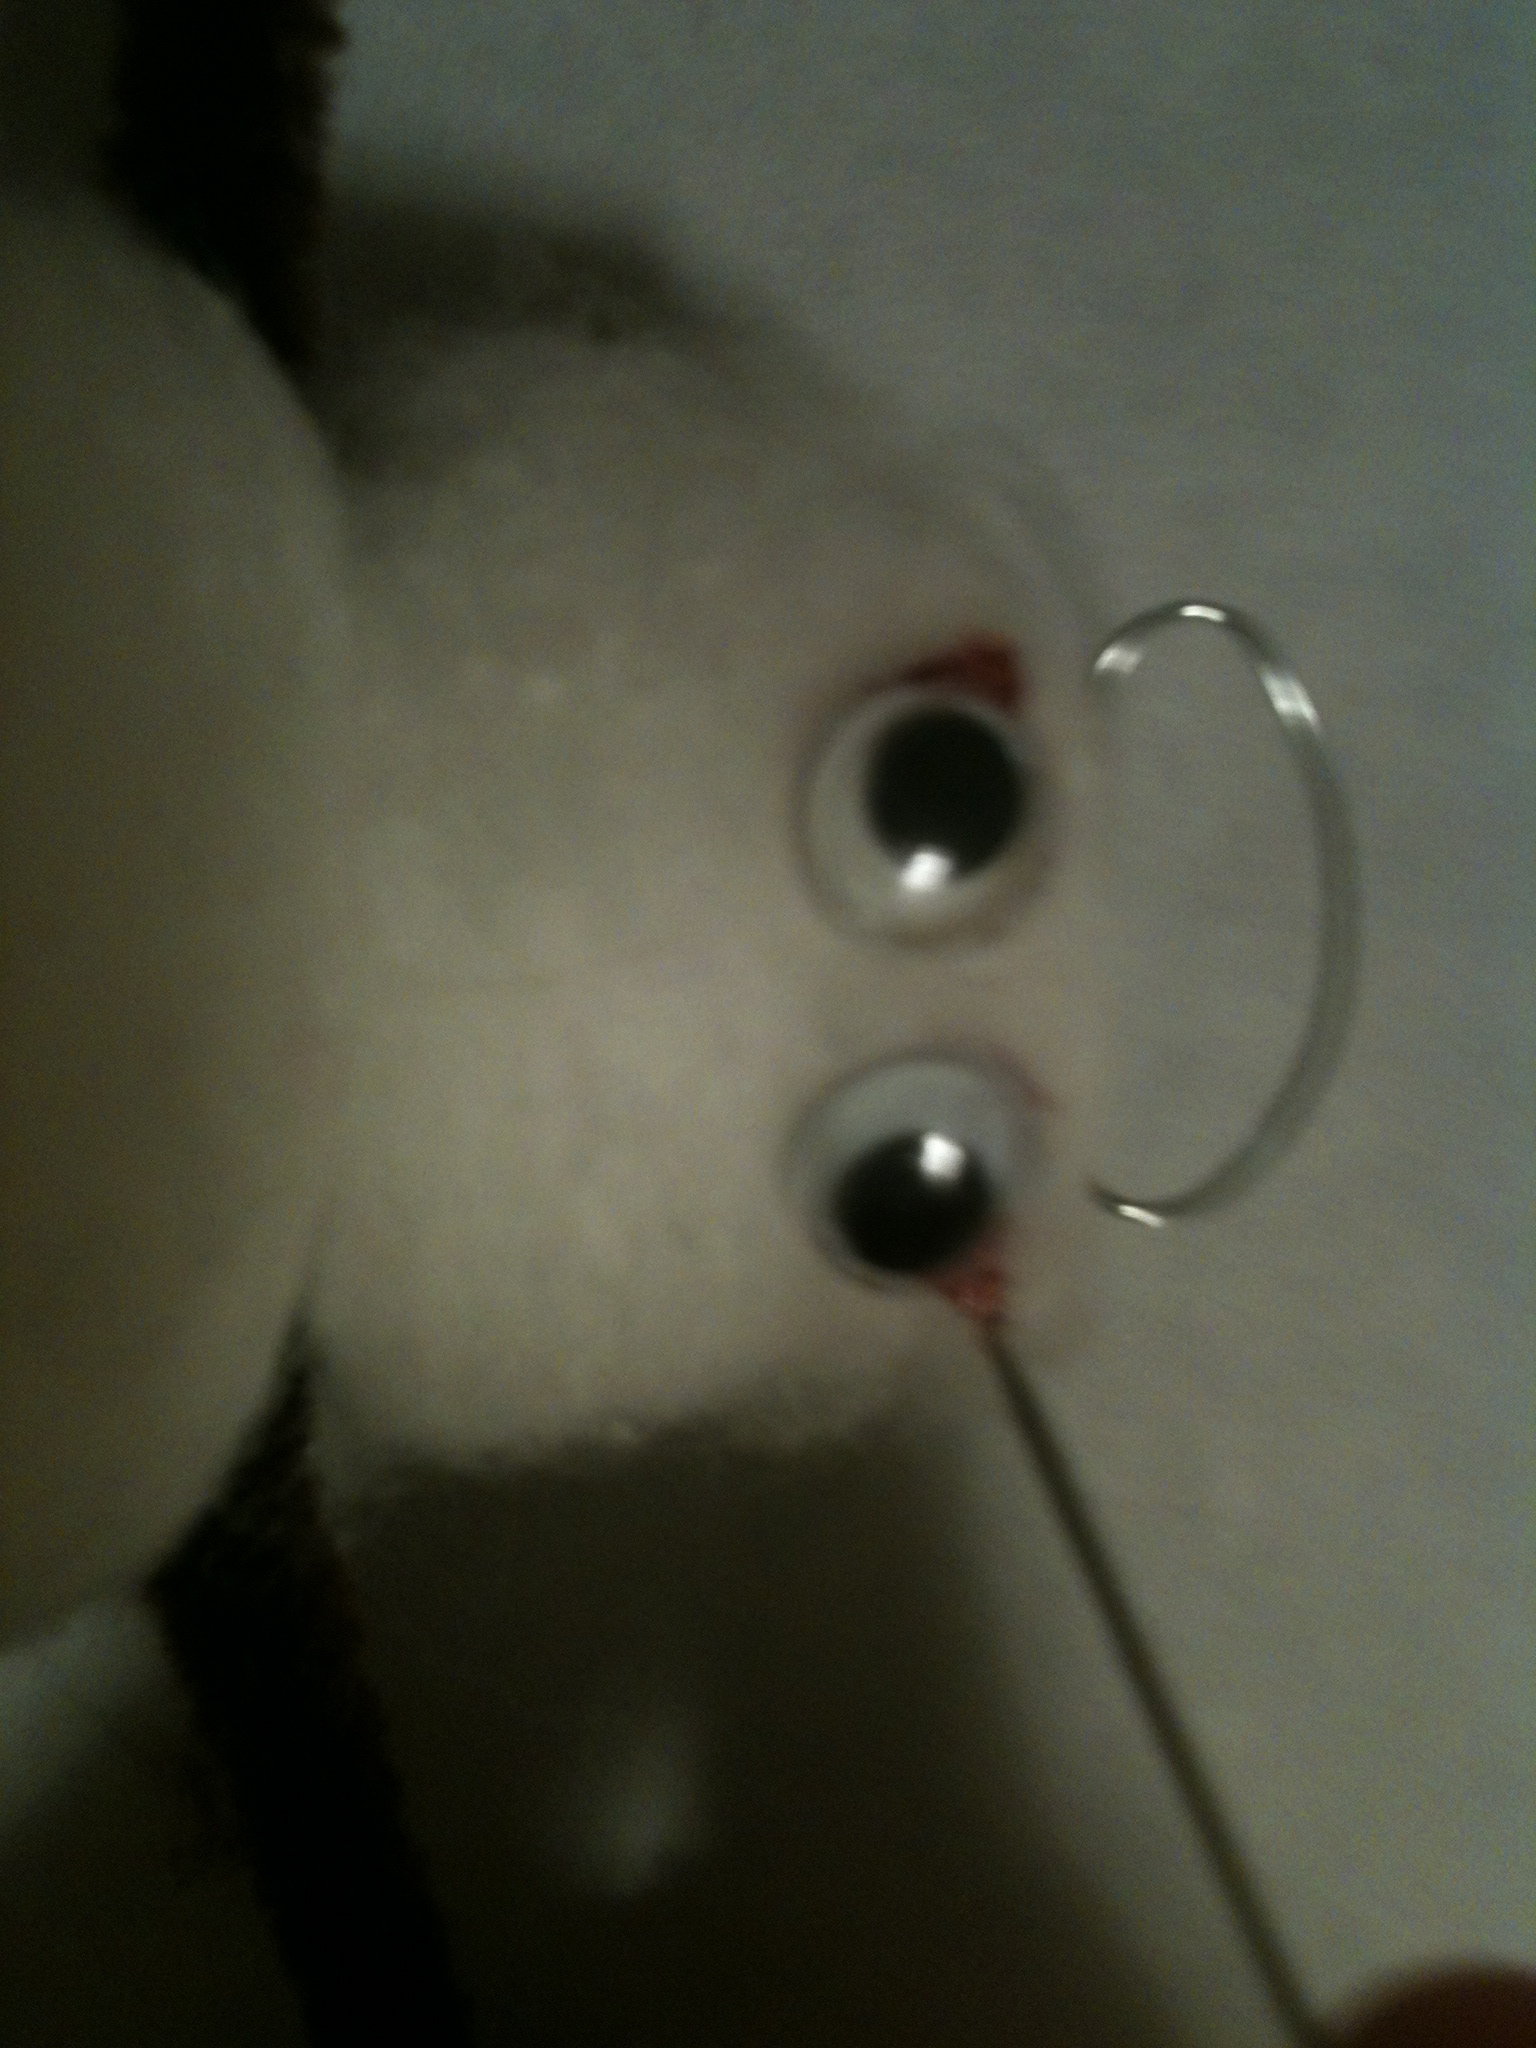
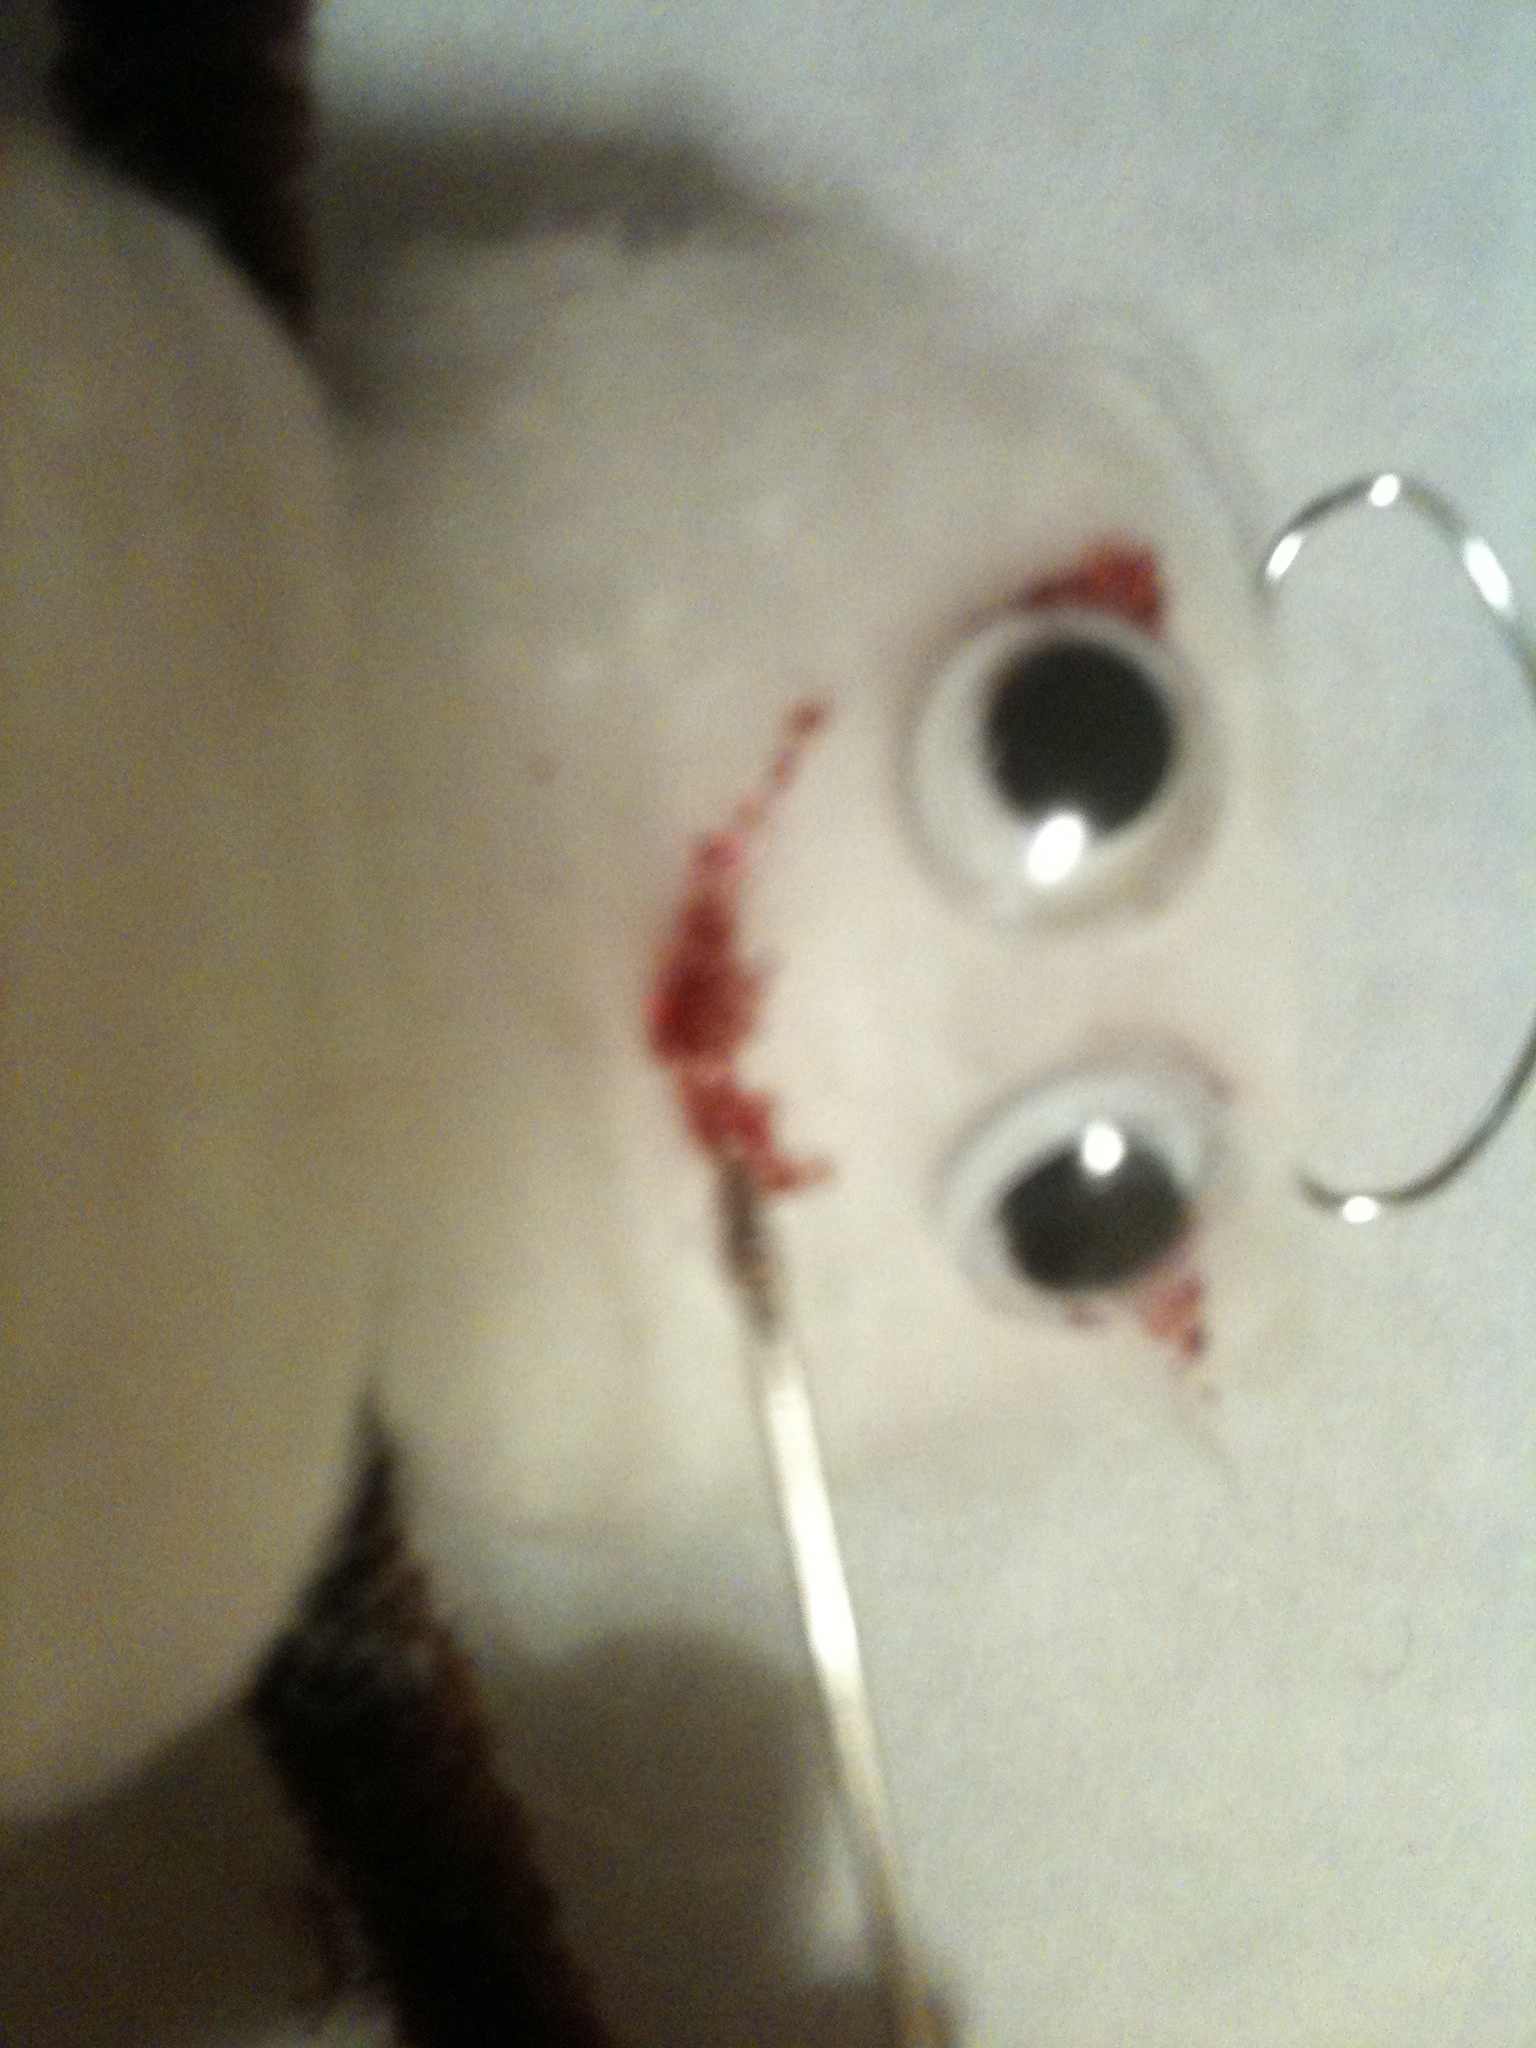
He’s looking like a vampire already!

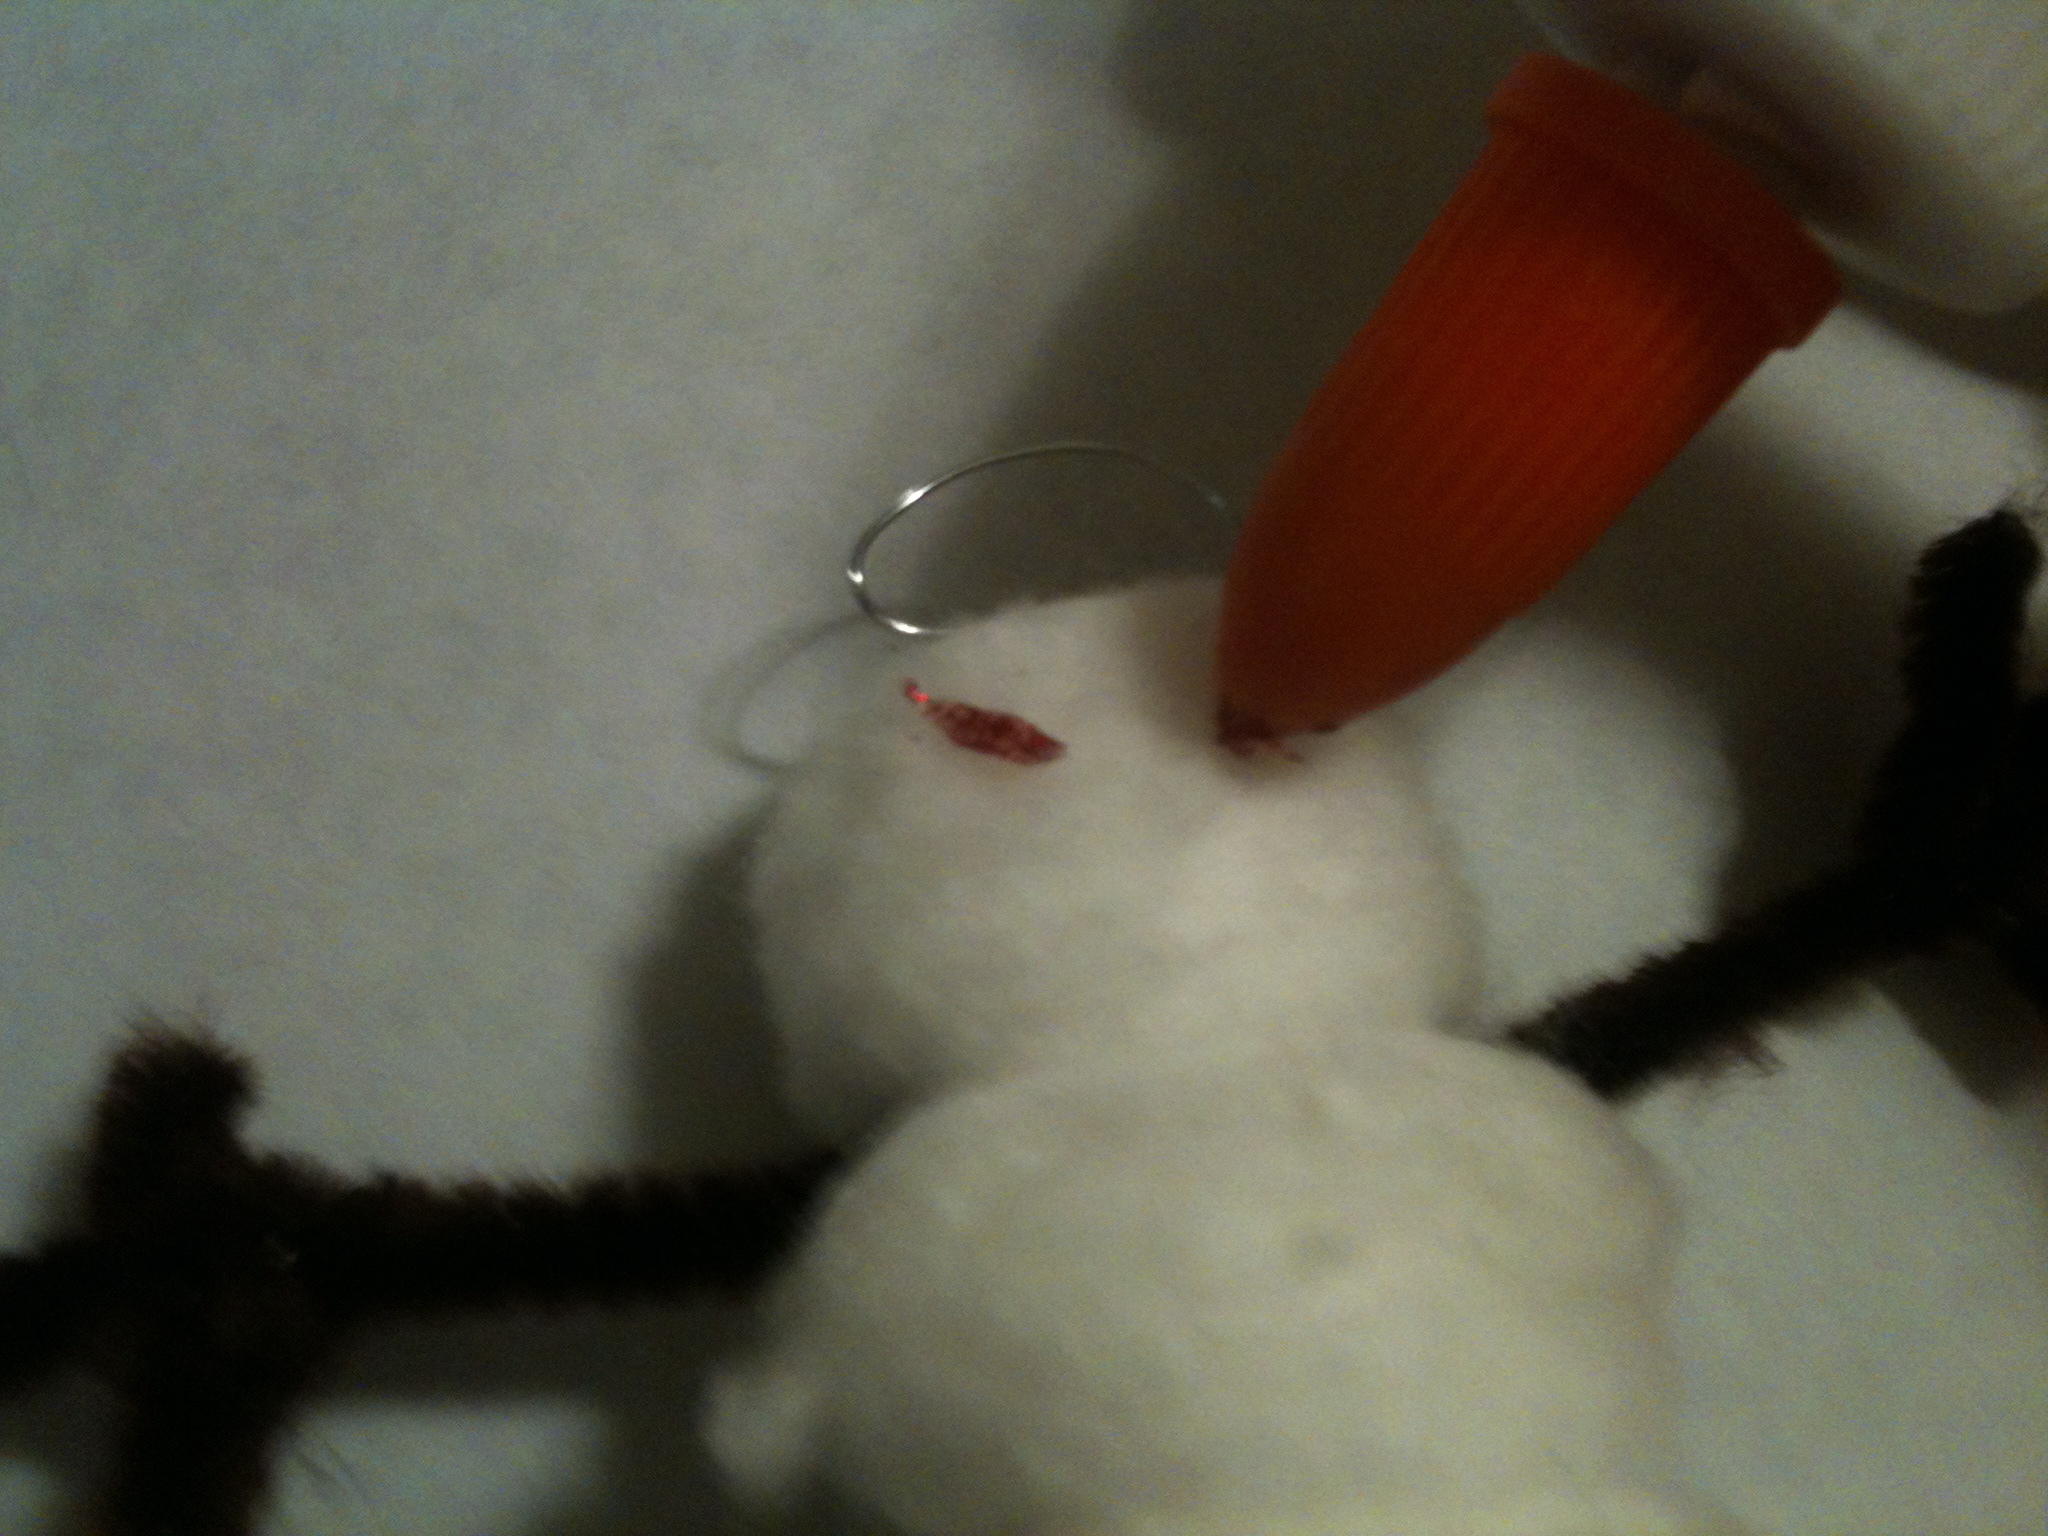
7. Wrap the second pipe-cleaner around the top of the candy-cane like this.

8. Trim the excess.

Snip snip.

Snip snip.

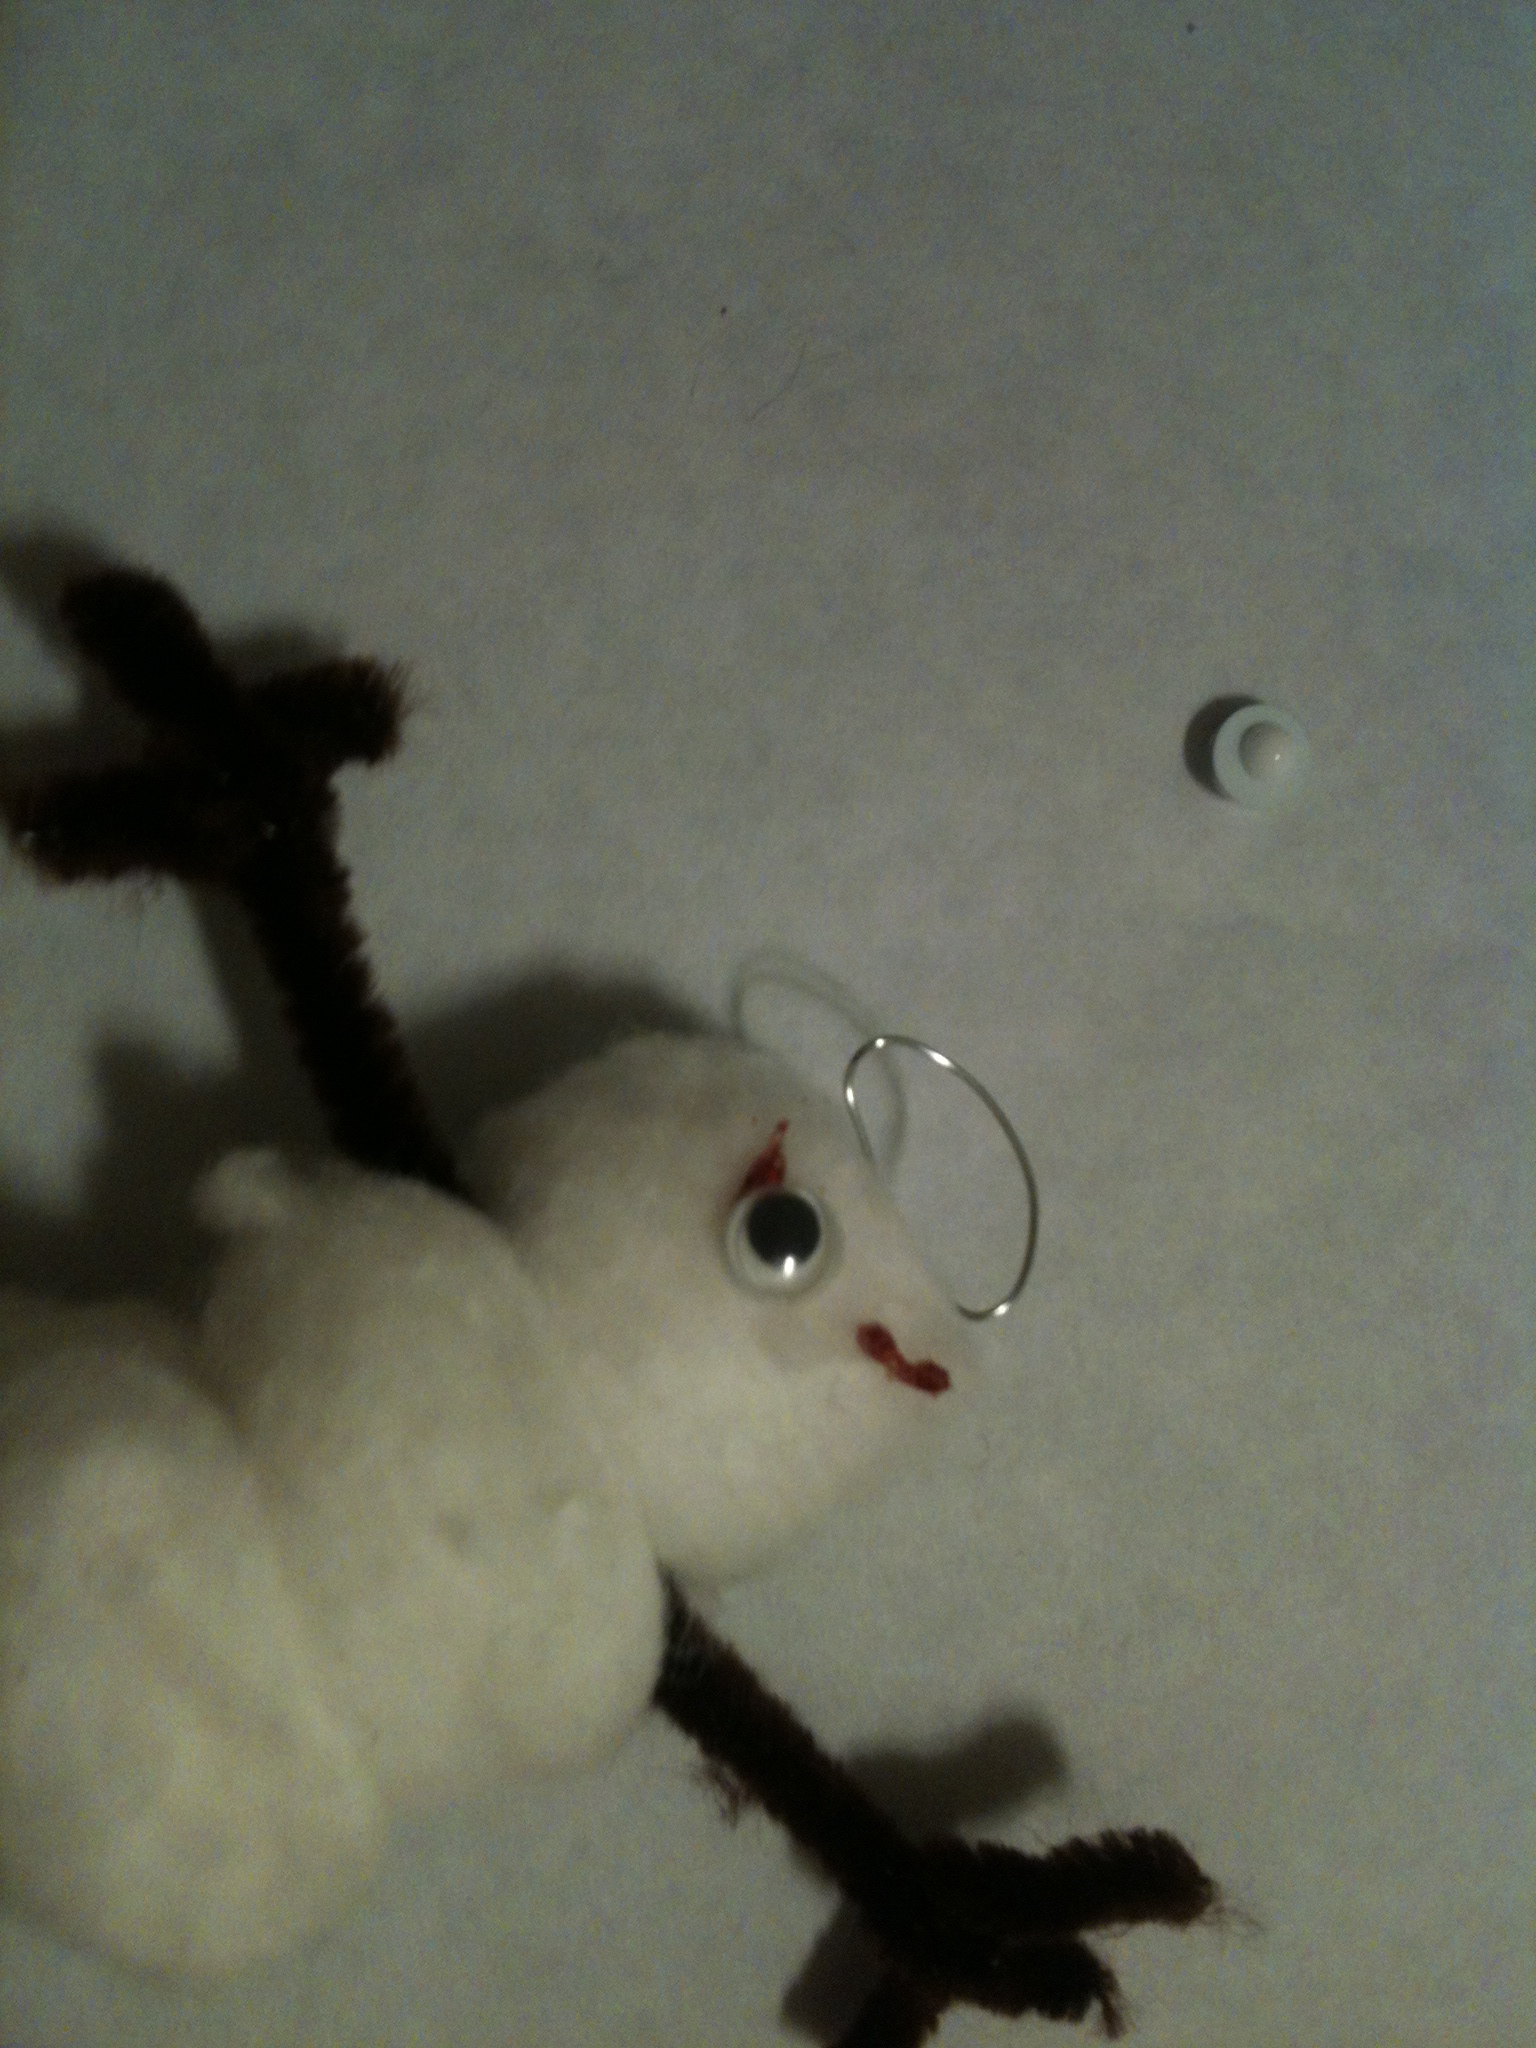
9. Add on some googl-y eyes and your done (try to use the ones that you don’t need to use glue to make them stick)!

I present to you, Count Peppermint! Ble ble ble!

 I hope you enjoy this but be sure to hide your eggnog. These vampires look hungry!

You have been varned! Ble ble ble!

  Bye!

Green Tip

Put down the DS, and read a book! Find other ways to entertain yourself while cutting back on the electronics.

Snowman & Family!

As the title says, today I will teach you how to make a snowman, snow woman, and a snow baby. The three have the same basic body form but are decorated differently.  For the snowpeople you will need: three cotton balls (only 2 if you are doing the baby), glue, (I would suggest using crafting glue or hot glue) glitter glue, needle nose pliers, wire cutters or scissors, goggly eyes, sequins, and brown pipe cleaners.

1. THE ARMS

Need: A pipe cleaner and some wire cutters or scissors.

1. Take the pipe cleaner, find or fold it in half and snip it in the middle.

Right there.

Right there.


2. Cut 2 small strips from one of the pipe cleaners.


3. Wrap them around the ends.

2. THE HOOK HOLDER

Need: Hook a cotton ball and pliers.

1. Take some wire and twist it around like this (use the pliers to adjust if needed).

2. Glue a dot of glue on the cotton ball.

3. Use the glue to fill in the space and hold it together (a bit of a battle in my opinion) let it dry.


3. PUTING IT TOGETHER

Need: Glue, 2 cotton balls (only 1 if doing the baby), arms and hook holder.

1. Glue 2 cotton balls together let it dry (don’t do this if doing the baby).

2. Glue the arms on and let it dry.


3. Add the head and yes, you guessed it, let it dry completely.


4. DECORATING (Snowwoman)

Need: Snowman body, glitter glue, pin (or something to move the glitter glue with), glue, 2 goggly eyes and sequins.

1. Add 2 lines to the face.

She looks ANGRY!

She looks ANGRY!

2. Attach goggly eyes to the face, use the pin to fix any problems.


3. Make a smily face with the glitter glue and use the pin to fix any mistakes.


2. Glue 2 sequins to the middle and 3 to the bottom.

The Snowman

Need: Body, goggly eyes, a pin, and glitter glue.

1. Add goggly eyes and a smily face.


3. Finally add the glitter glue to the snowman to make his buttons.

Tada! (again

The Baby

Need: Body, goggly eyes, glitter glue and a pin.

To do the baby:  It is basically making a smaller version of the snowman or snow woman. Do the decorating steps for the snowman if you want it a boy, and do the steps for the snow woman if you want a baby girl. Don’t add any sequins or glitter glue to the belly unless you want to.

An even cuter tada!

An even cuter tada!

To hang them up on your tree simply do this.

Now you can also add buttons instead of sequins or glitter glue (make sure they are very small). You just have to add an ornament hook the the hook holder and hang it on your tree. It would be COOL if you make earmuffs and/or a scarf to add on the snow people. Or don’t add a hook holder and attach the snowman, baby, or girl to an object.

Like so.

Like this.

I hope you enjoy this project as much as I do :]

Get Ready for the Holiday’s

Hello people of the crafty universe! It is only 16 days until CHRISTMAS! For today I will show you what to do for one of the most important decorations for the big day the Christmas tree.

THE  TREE

In my house we have 1 real and 1 fake Christmas tree. But what if you are looking for a more DIY approach or want to save some cash OR tired of the same tree then check out these videos of how to make a Christmas tree.

Broke for the Holidays, DIY X-Mas Tree

DIY Driftwood Christmas Tree

THE ORNAMENTS

If you need ideas of how to decorate a tree then you could look at some of my older posts (HERE or HERE) of how to make ornaments.  If you have already seen and read my posts then here’s another ornament video.

D.I.Y. Bunny Ornaments, Soda Can Ornaments, and StarBucks Snowflake

I hope you enjoyed the video projects. If you like my blog or photography and sightseeing then you could go to my mom’s blog! It’s about our life in Germany, or Deutschland.  It is AMAZING here! I hope you enjoy!

A Tree-mendous Project

Hey! What’s up craft fans! Since it’s close to Christmas I am doing an ornament special for this week!  For today’s craft, Popsicle Snowflakes, for this project you will need:

 Popsicle sticks, markers or paint, wire hooks, pliers, and craft or hot glue. (We used markers and white glue for ours, but use what you have.  Even glitter would have been fun!)

1. Color or paint 3-5 popsicle sticks, let them dry.

2. Glue the sticks together to look like a snowflake, again let it dry.

3. Now take your wire and shape the bottom of the hook to look like this…

4. Glue the wire to the snowflake and let it dry.


5. Tada!

I did this project with my Mom, Brother and Sister

I did this project with my Mom, Brother and Sister 

Now you have snowflake ornaments! This is great to do with your kids or girl scout troop…and to put on the tree in a school room! You can also doodle on the snowflakes or add glitter glue. It’s all you!