The Scoop on Indoor Plants

  Hi guys! Did know that having an indoor plant can help reduce colds by 30 percent!?! And they can help reduce the need of air fresheners? It is very important to have them around for they can help make oxygen from carbon dioxide.  If you would like some more info about how indoor plants help, I found a  blog that can tell you the benefits, here’s the link

Ok so know you know how they can help but what about what types are some of the best choices? I learned about some of the best plants from one of my Girl Scout handbooks but I know that not all of you are Girl Scouts. What I did was look up the name of a good, air purifying plant, and how to take care of it. Not all of the information is from the same websites but, if you want to,once you’ve learned about a plant that sounds like something you want to get, go to your local plant nursery and pick one up for your home. It’s easy I promise!

The Link List

Now, have you noticed how much air fresheners you use in your house? Have you done a little research about what’s in the fragrant perfumes or how it’s made? Air fresheners can be really bad for your health.  So that is why I think it’s a good idea to use scented plants and open windows instead of these bad chemical filled fragrances. Here’s a list about how to take care of some strong smelling plants that you can use instead (maybe we can put some in the bathroom ;^] ).

The Second Link List

I really hope that these links will help you find good plants to keep indoors! If you liked todays post then let me know and don’t forget to tell me what you’d like to see!

Green Tip

When you’re done with something you want to recycle and it still has food inside be sure to rinse it out.  It will help deter pests from your recycle area and will help keep things smelling nice 🙂
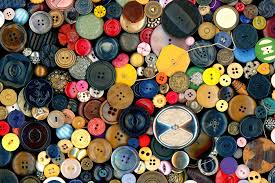
Cute-as-a-Button Earrings

 Do you guys like buttons?

If you do, then continue reading.

If you do, then continue reading.

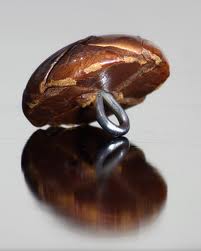
   Do you like earrings (if so, then continue reading.)? Well, lets just say that the two get married and had a love child that I’ll show you how to make today! It’s really simple (except for step 4 because it’s a little complicated) and really cute. I suggest that you use the buttons with two holes but you can use any other you’d like… Except for these types. ->

You know, the ones were you sew your thread in the back.

You know, the ones were you sew your thread in the back.

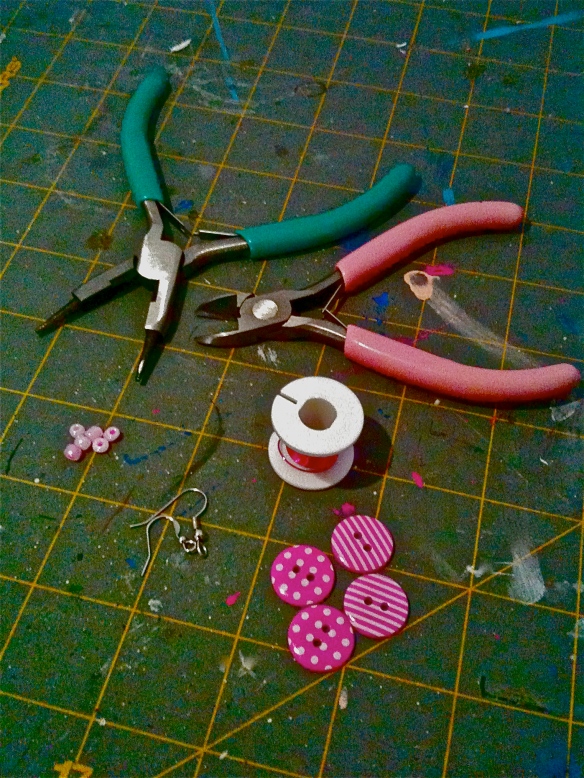
Need: Four buttons, some thin wire, six small beads, a pair of wire cutters and pliers.

I've started to learn the art of photo editing so some of these photos might look a little weird.

I’ve started to learn the art of photo editing so some of these photos might look a little weird.

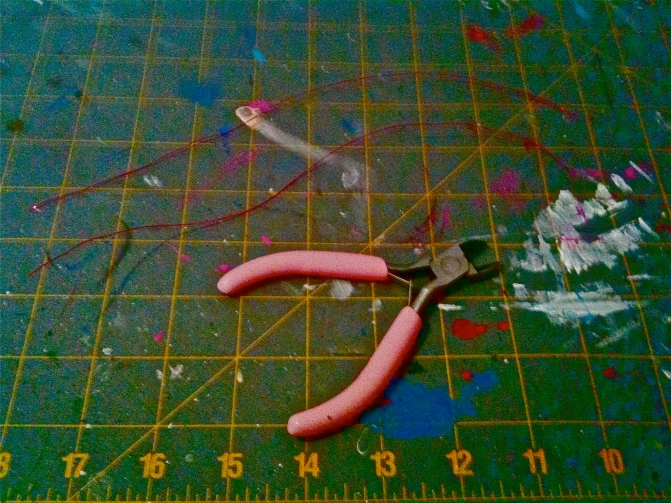
1. Cut out two even pieces of your wire (I just cut out as much as I think I’ll need).

I just cut out how much wire I think I'll need.

The wire looks like ghost wire :^(

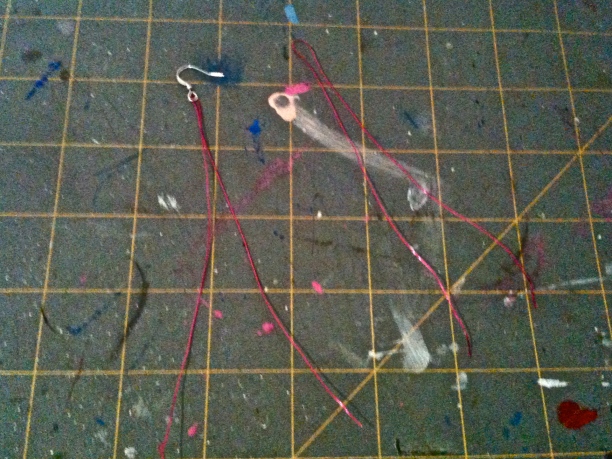
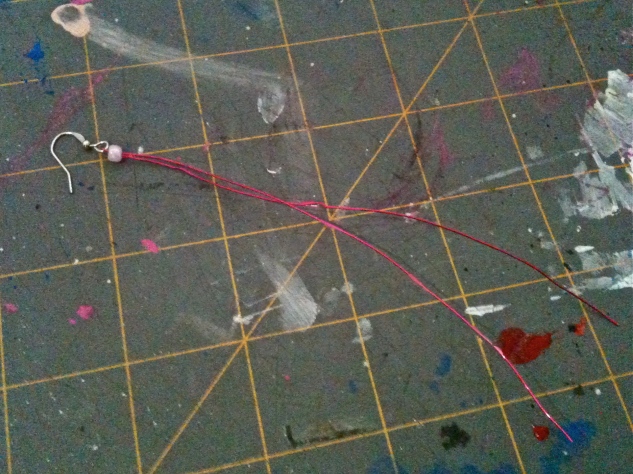
2. Now fold the wire in half and thread it through the little hole on the earring hooks.

Do you think the color wire I chose matches the eating hooks?

Do you think the color of the wire I chose matches the earring hooks?

3. Now thread a bead through both pieces of the wire and push it all the way up (that kind of sounded weird).

h

This is what I mean by “all the way up”.

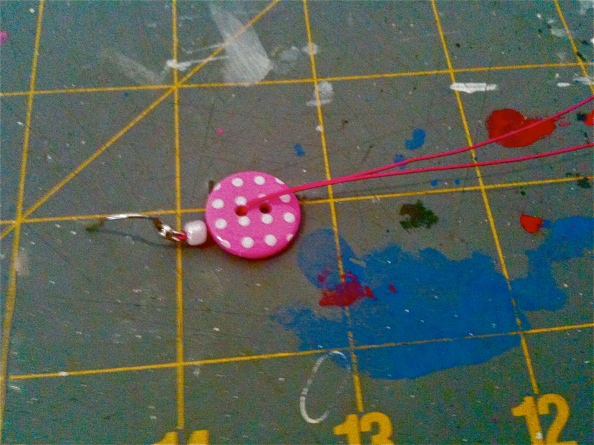
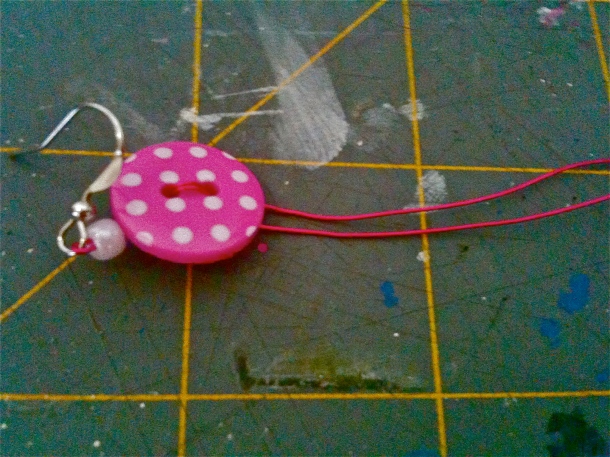
4. Now thread the wire through one of the button holes. Be sure your threading the wire in a way that it’ll be facing the front.

Dose this photo make sense.

Dose this photo help?

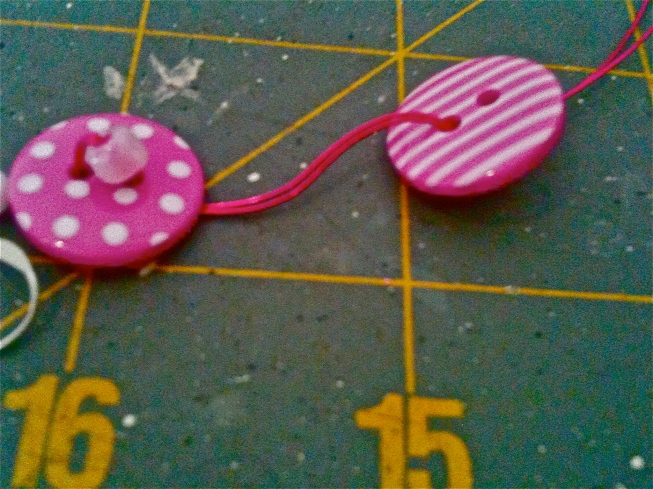
5. Thread on another button and “sew” the wire through the other hole.

I forgot to thread the button in before I took the photo :^\

I forgot to thread the button in before I took this photo :^\ But you can just forget adding on beads except for the first step.

6.Now thread on the other button like the one in this picture.

I REALLY hope this is making sense.

I REALLY hope this is making sense.

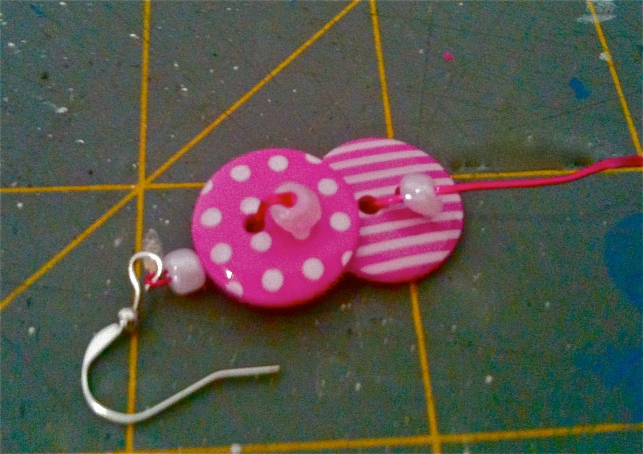
7. Now add on another bead.

Be sure you make the buttons nice and snug agents each other first.

Be sure you make the buttons nice and snug agents each other first.

8. Then thread the wire through the other hole.

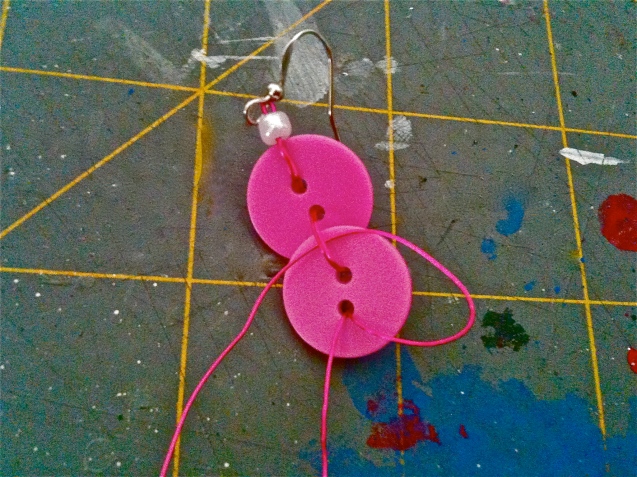
9. Now weave each pice of wire through the other wire as the photo shows (it looks like the earring’s in an armlock).

Be sure to do this with both pieces of wire separately.

Be sure to do this with both pieces of wire separately.

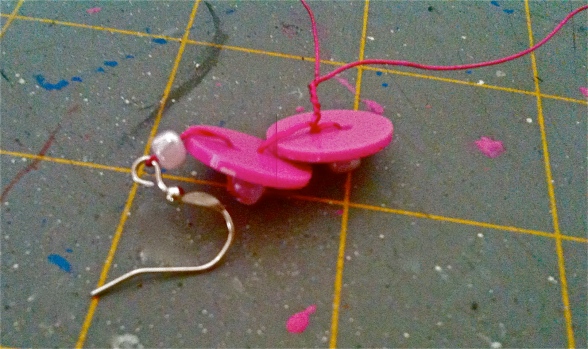
10. Now tightly twist the wire around until it pops off.

This is my preferred method of securing the earrings but you can use any other method you like.

This is my preferred method of securing the earrings but you can use any other method you like.

11. Now repeat.

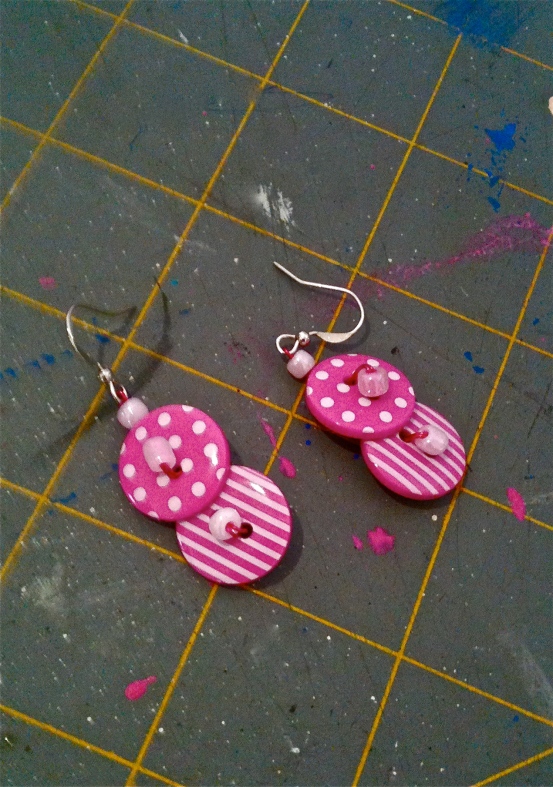
Ta-da!

Ta-da!

This is my slightly scary attempt to do the "evil cyclops" look.

This is my slightly scary attempt to do the “evil cyclops” look.

I hope you liked this really cute but simple DIY. If there is anything that YOU would like to see then let me know in a comment. I’ll also surf the internet (surfs up!) to find jewelry you can buy, try to recreate it and show you to make it (or you can send me a link to what you’d like to make). This can also look really cute for back-to-school (bamp-bamp-bwaaaa!), I think this’ll look really cute with a denim jacket but sadly, I do not own such a fashion exccessory :^[ I really hope that these photos look better then they used to, let me know!

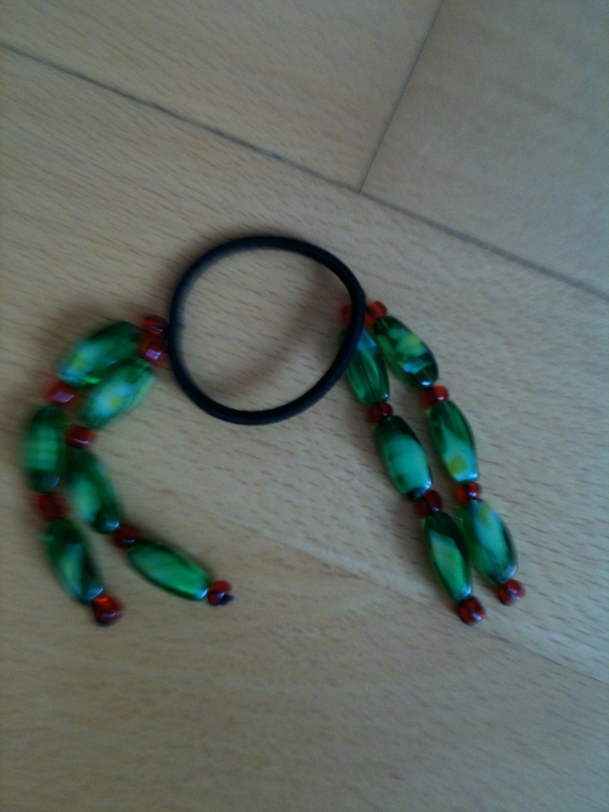
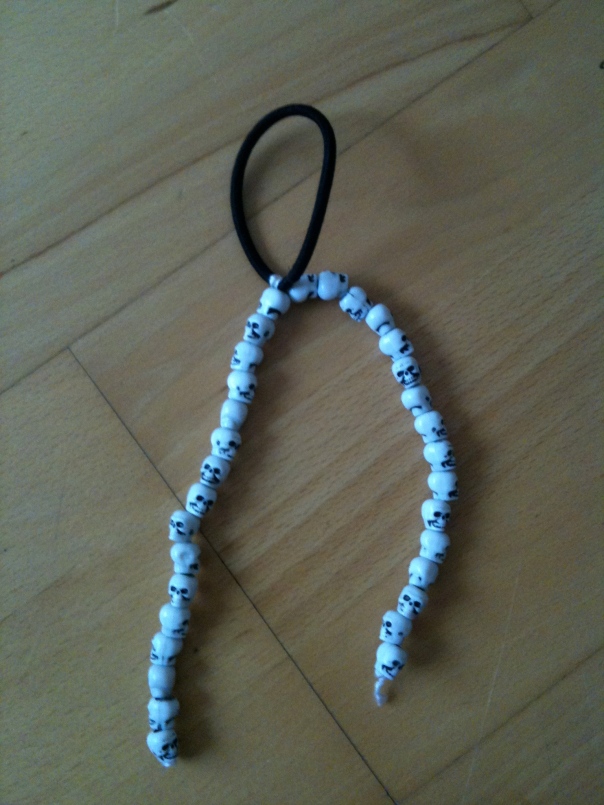
Oh, I almost forget to announce the winners of last weeks poll! In a tie for first place we have,

#1

#1

#2

#2

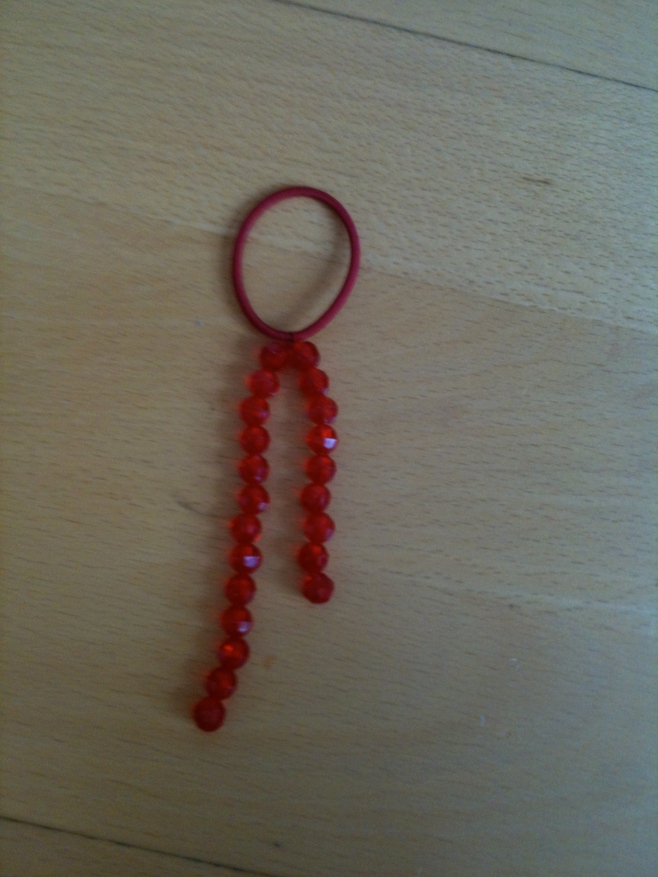
And in second place there is the,

#3

#3

   If you liked today’s post then let me know! Until the next one…

Totally random Dr. Who quote!?! :^D

Totally random Dr. Who quote!?! :^D

Green Tip

The next time your at a park or on a hike, bring a big garbage bag and a pair of rubber gloves. Grab every pice of litter and keep it in the bag until you can safely dispose it in the trash (or better yet, bring separate bags for pieces of litter that isn’t so damaged).